How to Make South African Koeksisters
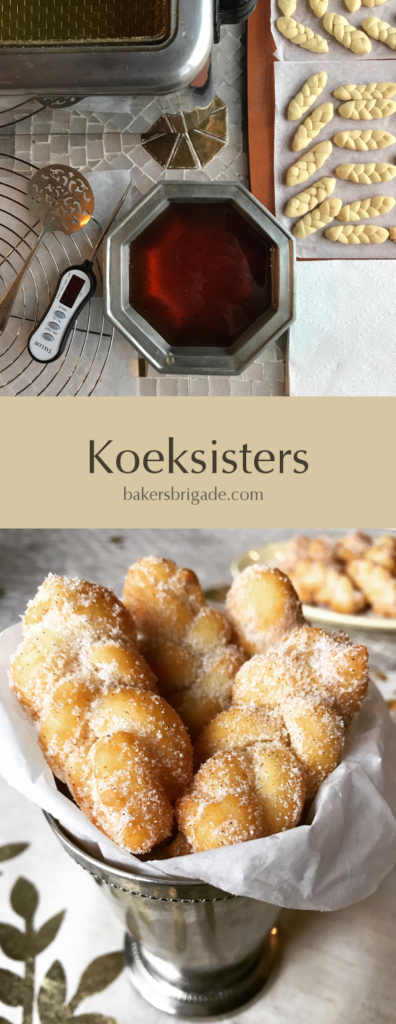
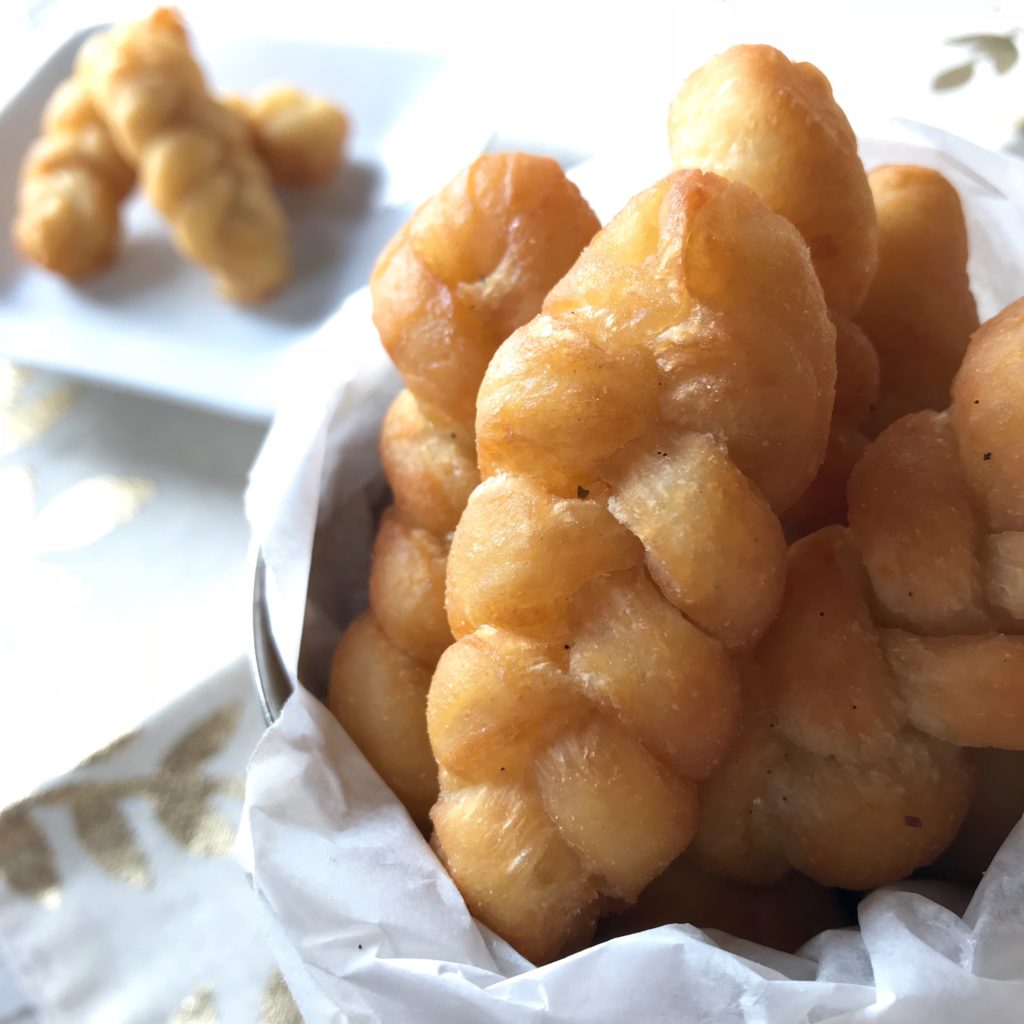
These South African mini-donuts are braided and then deep-fried. Next they are traditionally soaked in an ice-cold syrup infused with ginger and lemon. I’ve added some rooibos, peppermint and juniper for an herbal twist. You can also skip the soaking and just toss them in cinnamon sugar for a more familiar treat.
Servings 3 dozen
Ingredients
For Koeksister Dough:
- 2 cups all-purpose flour
- 2 tablespoons baking powder
- 1/2 teaspoon salt
- 1/4 cup unsalted butter cold
- 3/4 cup buttermilk
- 1 egg lightly beaten
- vegetable or canola oil for frying
For Rooibos-Juniper Syrup
- 2 cups sugar
- 1 1/3 cup water
- zest of one lemon
- 2 1/2 tablespoons lemon juice
- 1/2 teaspoo salt
- 1 tablespoons Rishi Rooibos-Peppermint tea you can also use a mix of peppermint and rooibos tea
- 1 tablespoons fresh grated ginger
- 1 tablespoons juniper berries
- 1 vanilla bean, split, seeds scraped into mixture optional (you can also add 1 teaspoon vanilla extract)
For Cinnamon Sugar:
- 1/2 cup sugar
- 1 teaspoon ground cinnamon
Instructions
To Make Koeksisters:
- In the bowl of a food processor, combine flour, baking powder, salt and butter. Pulse until no chunks of butter are visible.
- Add the buttermilk and beaten egg and process until the dough just comes together.
- Turn out onto a lightly floured board and knead until the dough feels smooth and springs back a bit.
- Put the dough in an airtight container at room temperature and let rest for at least 2 hours, up to overnight.
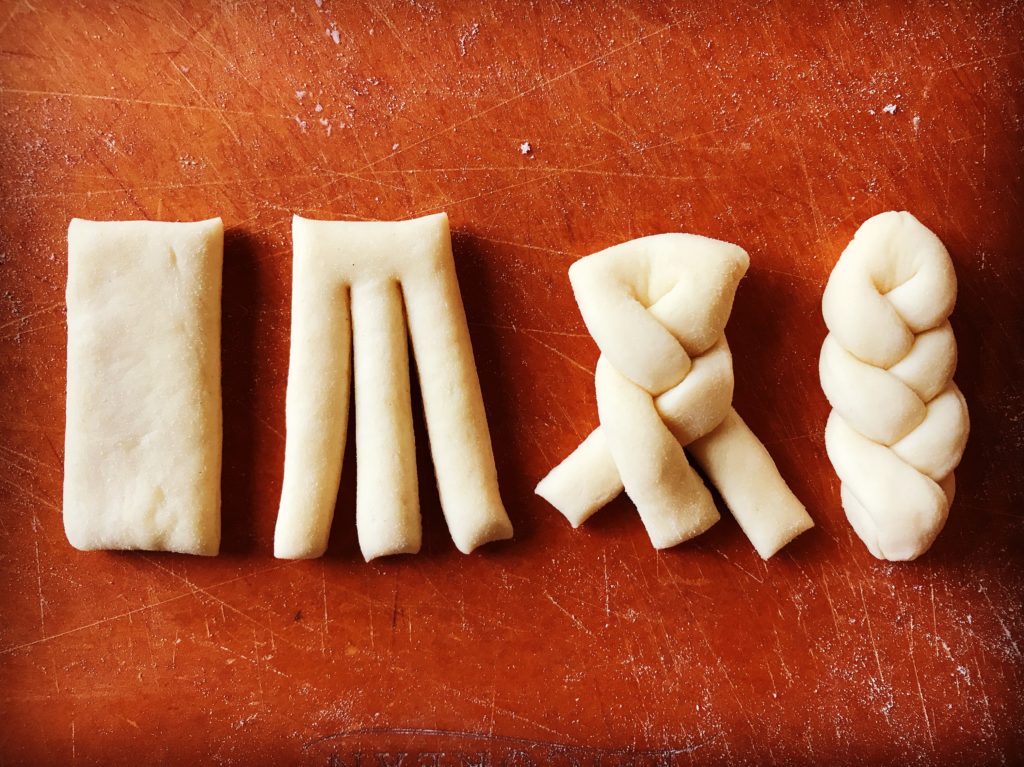
- On a lightly floured board, roll the dough into a 13X9 rectangle. If your rectangle is wonky, roll it a bit larger and trim it to size. Cut into 2 1/2′ x 1″ rectangles.
- Make two cuts in each rectangle as shown below.
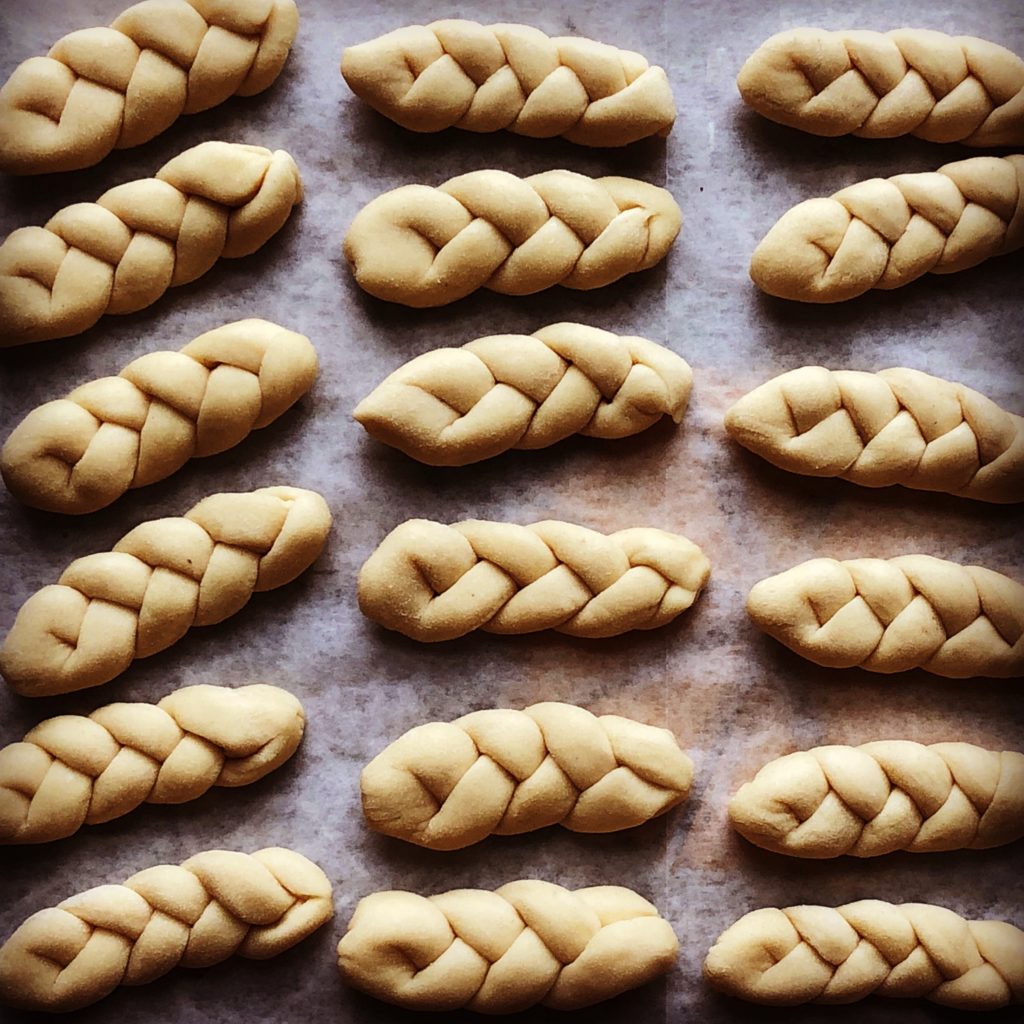
Braid the three strips then pinch the ends closed. - Fold back the top corners to make it uniform.
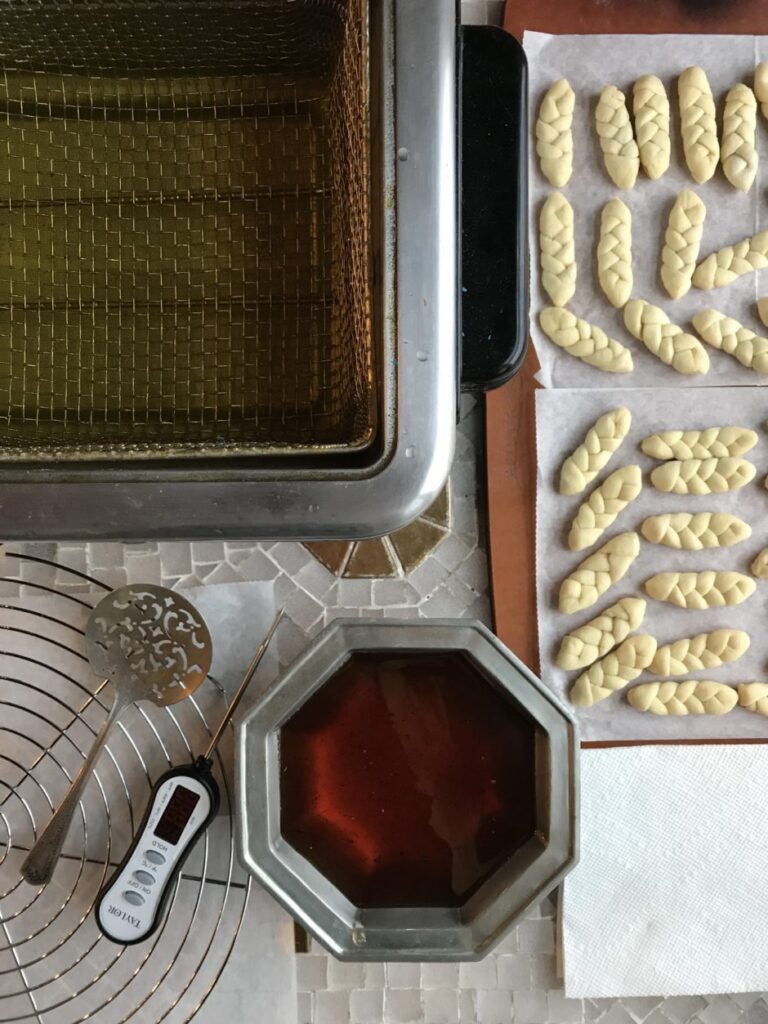
- Heat your oil in a deep fryer to 370 degrees. If your using a pan, put about two inches of oil in your pan and heat to 370 degrees.
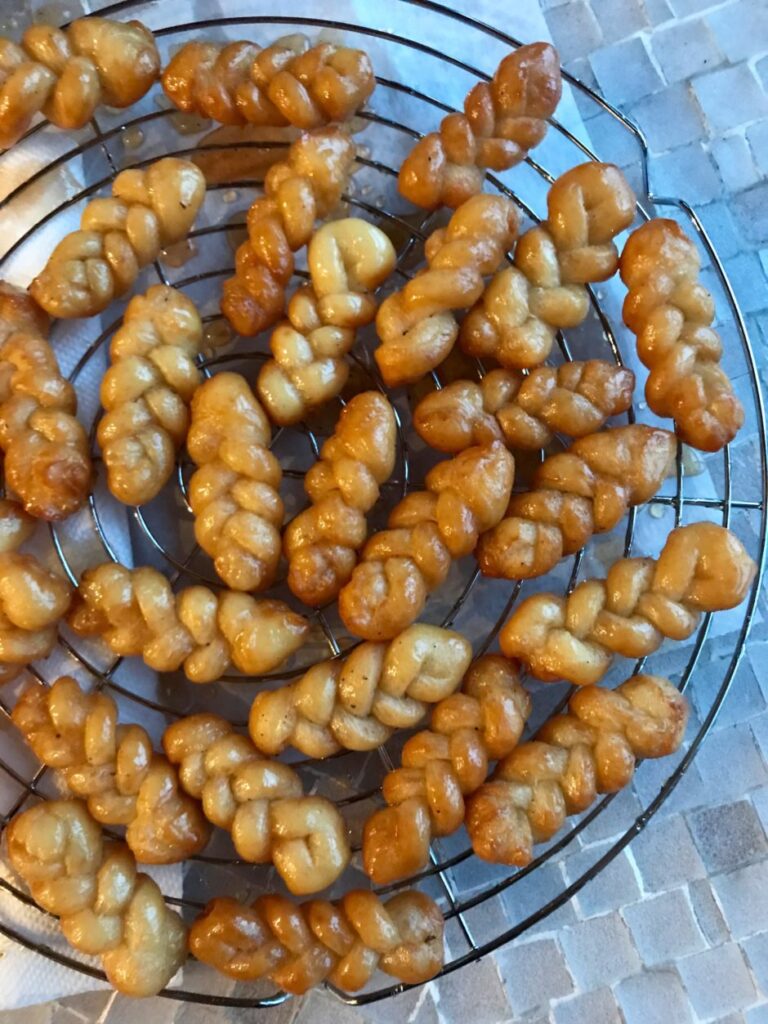
- Fry the koeksisters in batches of six for 30-45 seconds, turning them to get even browning on both sides. They should be golden brown.
- Drain them briefly on a paper towel them soak them in the syrup for 1 minute (if using).
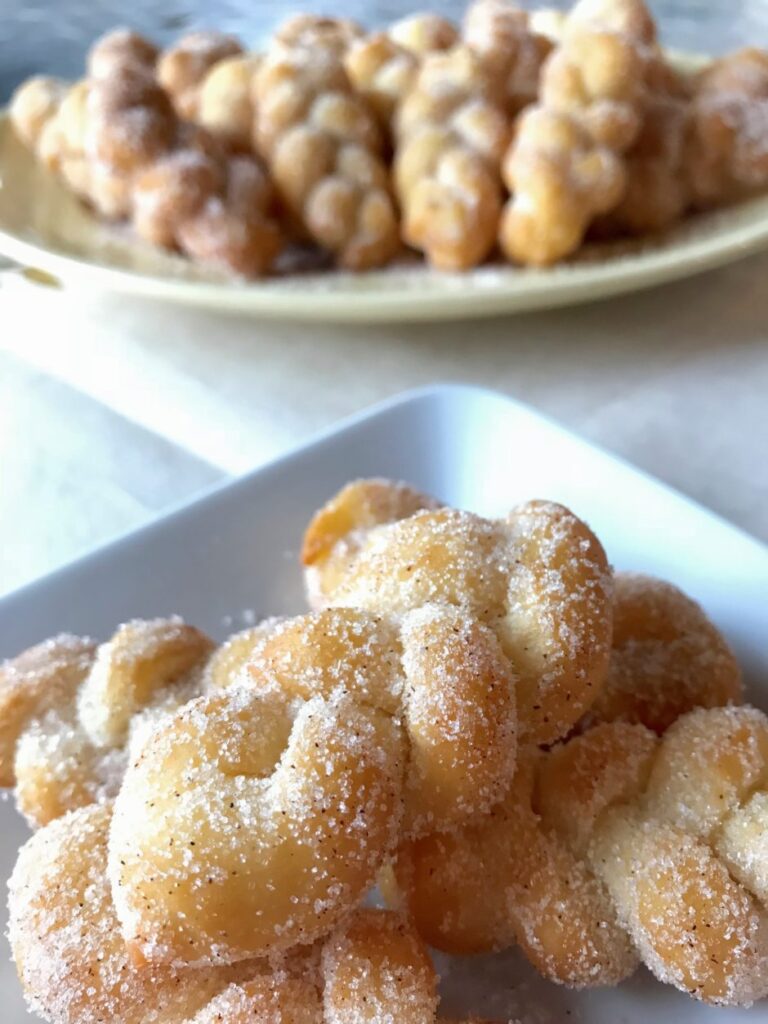
If you’re doing the cinnamon-sugar method, drain them briefly on a paper towel then sprinkle and coat them with your cinnamon-sugar while still hot. Store in an airtight container.
To Make Syrup:
- Heat sugar and water in a medium saucepan over medium heat until sugar dissolves.
- Add the remaining ingredients and let simmer over medium-low heat for 20-25 minutes.
- Cool completely then strain.
- Refrigerate at least overnight, up to a few weeks.
For Cinnamon Sugar:
- Mix the sugar and cinnamon then spread in a shallow dish before adding the hot koeksisters.
How to Make Koeksisters Perfect Every Time:
The dough needs time to rest, at least two hours. It is not a yeasted dough but it does rise a bit so make sure the airtight container you store it in has plenty of room. The first batch I made I let rest overnight, the second batch I let rest just two hours. There wasn’t much a difference between the two.
If you are doing the syrup method, make that the day before. The syrup needs to be super cold for this so you’ll need to give it plenty of time in the fridge to cool down. I even put mine back in the fridge between batches to keep it as cold as possible. I’m not sure why it has to be so cold, but the internet is unanimous on that point so I wouldn’t risk it.
When you braid your little koeksisters, make sure to pinch the ends firmly. If they are not completely pinched together they will come unraveled in the fryer. They still taste good but are harder to work with.
The internet is also unanimous that the syrup version tastes best the day after it was made. I’m torn on that point. The day one version was shiny, and had a bright flavor with a fresh doughy center. The down side was that they were so sticky that it was a bit messy to eat them. The day two version was much drier to the touch and the flavor had penetrated the dough. At the same time, they looked rather dull and just the tiniest bit sodden. I vote you do what I did and eat half the first day and half the second. Then you’ll be an expert.
This is a fun project to try with kids. My kids, ages 7 and 11, enjoyed making the little braids, helping keep an eye on the fryer and dipping and coating the donuts. They’re really so tiny and charming. The donuts, that is.